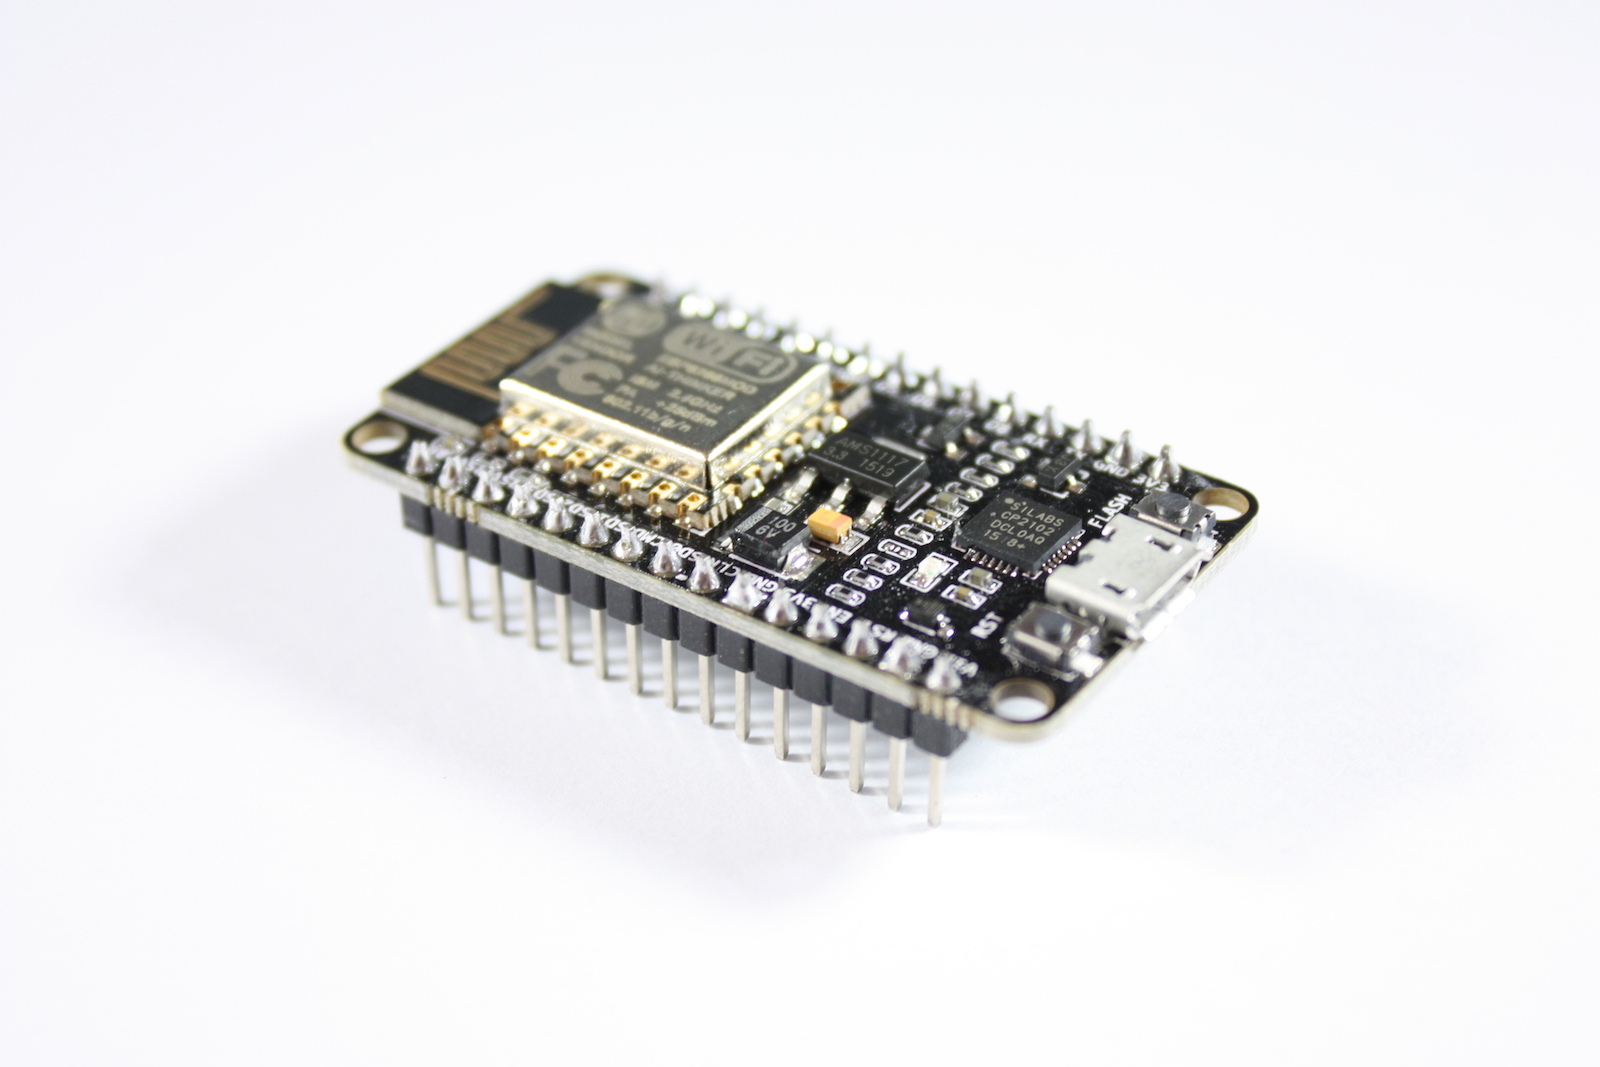
My first try with the Amica ESP8266 (ESP-12-E) [32mbits(4MBytes)] devkit 1.0 aka v2. The software is NodeMCU.
https://github.com/nodemcu/nodemcu-devkit-v1.0
- Even if your OS (in my case Windows 10) finds the drivers for the USB connection, head over to the Silicon Labs and download their driver: CP210x USB to UART Bridge VCP Drivers
- Download ESPlorer or equivalent program to start with.
First-time connection, things seem to go south. I thought it was just to start but:
NodeMCU 0.9.5 build 20150403  powered by Lua 5.1.4
Will run user.lc/user.lua in 1000ms
> Please run file.remove("user.lua") before first use.
Please run file.remove("user.lua") before first use.
Please run file.remove("user.lua") before first use.
Please run file.remove("user.lua") before first use.

Ok, so:
file.remove("user.lua")
node.restart()
Hit: ”Send to ESP” button
NodeMCU 0.9.5 build 20150403 powered by Lua 5.1.4
Will run user.lc/user.lua in 1000ms
> cannot open user.lua
Next try: ”print(node.info())” Hit ”Send” button
0 9 5 1104745 1458415 4096 2 40000000 (original firmware)
3 0 0 1104745 1458415 1024 2 40000000 (latest from https://github.com/nodemcu/nodemcu-firmware)
Version: 0.9.5, chipid, flashid, flash size, flash speed.
Try an example from http://nodemcu.com/
print(wifi.sta.getip())
--nil
wifi.setmode(wifi.STATION)
wifi.sta.config("myNetwork","myPassword") <- your credentials
print(wifi.sta.getip())
--192.168.18.110wifi.sta.config{ssid="SSID", pwd="password"} if you are using 3.0.0
Yep, it works!
Time to setup a developer environment, instead of just ”lua-scripting”.
Download and install Visual Studio Code (lightweight and open source).
In extension, you can search for Arduino and choose to install PlatformIO IDE.
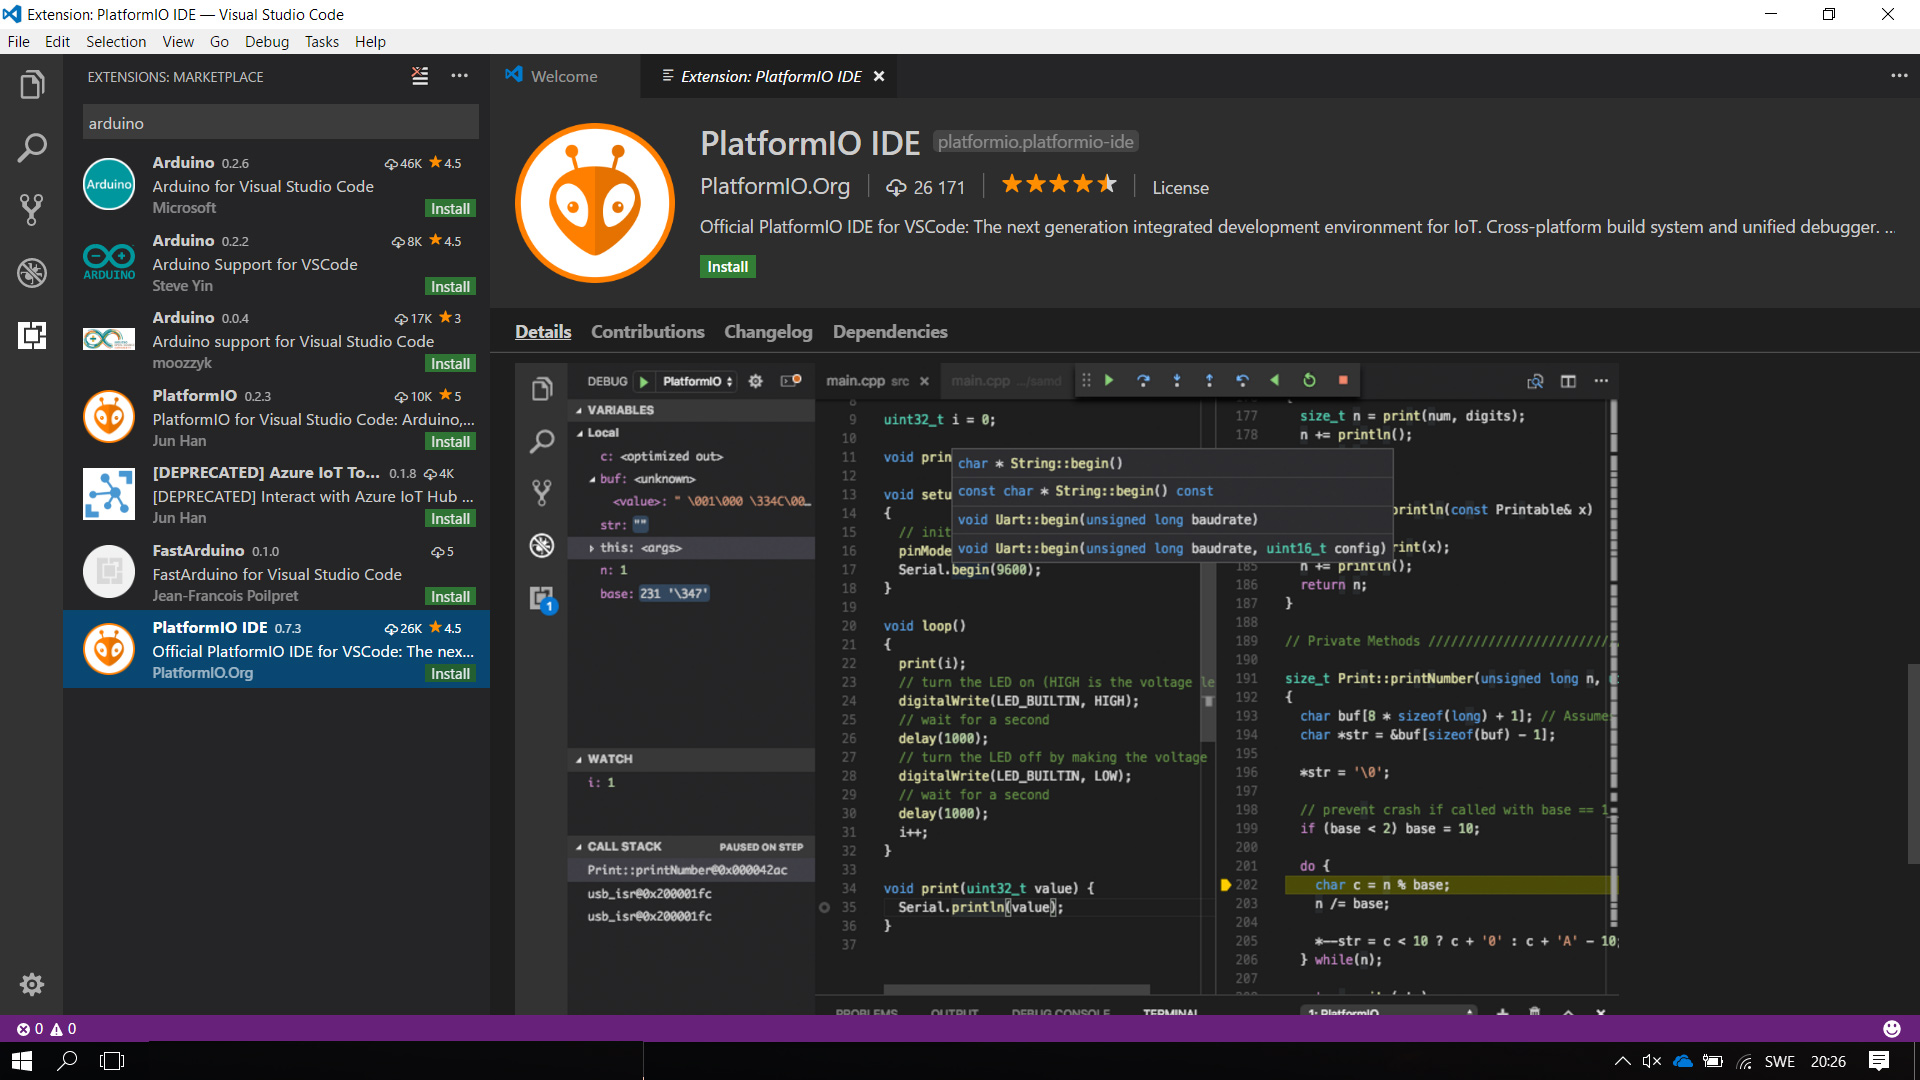
Restart Visual Studio Code. Choose ”Project Examples”, then Install Embedded Platform. Search for 8266, choose Espressif 8266 and hit install (1.4.0) This package contains examples for NodeMCU 1.0 (ESP-12E Module). Now, go back and choose ”Project Examples”. There You’ll find arduino-blink. Start that one, remove all other platforms in platformio.ini than nodemcuv2 or just run;
platformio run -e nodemcuv2 –target upload, more can be read in the .ini